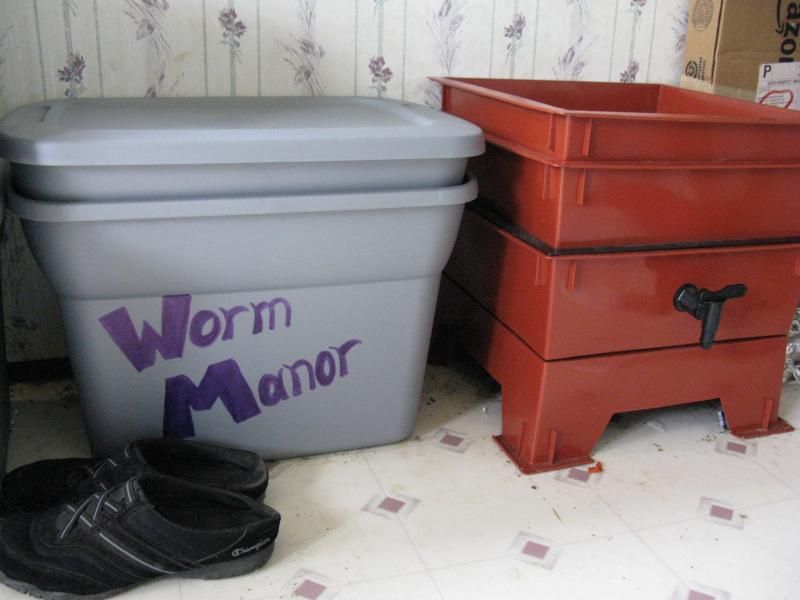
My son recently used his birthday money to purchase a Worm Factory vermicomposter. If you are not familiar, vermiculture is raising worms and vermicomposting is using worms specifically for the purpose of breaking down organic matter for compost. There are several commercial vermicomposters on the market including the Worm Factory, Can of Worms, and VermiHut. I find these vermicomposters to be a bit expensive for what they are and you can make a simple, far less costly version yourself with some instructions I will post in the near future.
We are very much enjoying these worms and what they are doing for us. Here is the information you need to vermicompost:
Why Compost?
Composting reduces household waste and provides a source of nutrients for gardening and soil amendments.
Why Should You Vermicompost as Opposed to Other Methods?
According to Nature’s Footprint (the company that produces the Worm Factory):
- Worms create a compost material that is far superior than any compost that is produced without their assistance
- The compost material that is created by worms is smaller than 2 microns
- Vermicompost added to soil creates a material that has better water retention, aeration, drainage and stability
- Vermicompost contains more antibiotic properties against pathogens than regular compost and higher amounts of natural plant growth hormones
- Worms have the ability to reduce all bacteria that is pathogenic to animals and people
Additionally:
- I find it easier than typical composting (no turning, etc)
- It takes up very little space to produce really awesome compost
- A worm composter can be kept in the house
- Doesn’t Stink
- The worms eat the food before it gets rotty and stinky and their shit
don’t stink. Literally. I was hesitant to have this thing in my
house, but I haven’t had a problem with it in here. Ours sits in our
dining room and is not at all offensive.
Convenience - Since it is in the house, composting is convenient and the residents of our household (note: children) are more likely to actually compost with it in here rather than sneak perfectly good food scraps into the garbage can to avoid taking it to the outdoor compost, especially in poor weather.
Controlled Environment – Having the vermicomposter inside is also good for the worms as they are not fond of extreme temperatures.
Getting Started
Types of Composting Worms
Not all worms work well in a vermicomposter and the type of worm you use matters. The red wigglers (Eisenia fetida) are ideal for many reasons:
1) They prefer to live in the top few inches of soil as opposed to other worms that like to move down into the soil. This means that you can add trays for them to move up into giving you access to the castings without having to dig your worms out by hand.
2) They don’t like light which allows you to ensure they stay in their nice dark bin. Other types of worms are not so bothered by light and will want to explore outside of your bin.
3) They reproduce quickly.
4) They eat half their weight in food every day. One pound of worms will eat half a pound of food every day.
Fishing worms
If you are interested in raising fishing worms in your worm bins, a great dual-purpose worm is the European Nightcrawler (Eisenia hortensis) aka Belgian Nightcrawler. They reproduce slower, but will stay in your bins if you take the same care with them as red wigglers and they make a great fishing worm.
How Many Worms?
Most households will want to start with 1 lb of worms. If you are a large family of 6 or more or produce a lot of food waste, start with 2 lbs of worms. If you start with fewer worms, your system will take longer to establish and you may experience some rotty stinky food if there aren’t enough worms to eat what you are feeding them. If you start with too many worms, you will just waste money buying them and you may have difficulties with unhappy worms looking for food outside of the bin and with dead worms. 1 lb of worms is roughly equivalent to 800-1000 worms.
Buying Worms
If you are lucky, you can find worms locally from nurseries or garden centers. You can sometimes find red wigglers at bait shops, but be careful to only buy "red wigglers" with the correct scientific name as you can call any species a red wiggler and sometimes people call other species red wigglers. Your bin will not function as well if you get the wrong kind of worms and since red wigglers are not necessarily considered a great bait worm, the "red worms" and "red wigglers" at a bait shop are often not the right species.
There is a website that lists several places to buy proper worms for composting: http://www.findworms.com/
However, the site is a little buggy. You can browse the list of suppliers by clicking "browse all" near the bottom of the page under the "Featured Worm Farms" heading. You are welcome to try to use the search function, but I find that it does not work. Perhaps they will have fixed it by now.
Alternatively, you can do what we did and order these worms from Uncle Jim's Worm Farm from Amazon.com. Our worms arrived quickly - healthy in moist bedding inside a drawstring bag inside a box. Uncle Jim also has a website where you can buy worms and commercial vermicomposters.
Tools
Spray bottle - for misting when things get dry
Garden cultivator (we use this one)
Scraper (you can use a spatula or a small, flexible cutting mat like these if you don’t buy a commercial model that comes with a scraper)
Bedding (browns)
Bedding, basically, is the “browns” you add to your compost. This can include stuff like paper, cardboard, and dry fallen leaves. Half of what goes into each tray of your worm bin should be these “browns” while the other half is "greens" otherwise known as food. You should also add some garden soil to your bins as garden soil provides healthy bacteria that will help your worms process their food.
Commercial bins will often come with or recommend coir and pumice for bedding. Coir is the ground husks of coconuts. It is a renewable resource that retains moisture well and can create a nice, moist, not-too-wet environment for your new worms. Pumice is porous volcanic rock that provides aeration and drainage. Neither of these is absolutely necessary for your vermicomposter, but do create an ideal starting environment. Starting with these is nice, but there is no need to use these items for each tray. Both are also good for your garden or planting containers, too.
Food (greens)
Worms don’t like meat or dairy products. You may find they also don’t like very spicy or very salty leftovers. Some information indicates they also do not like citrus.
Worms do like vegetable waste, teabags, coffee grounds, fruit waste, grains, breads, pasta, dead or pruned plant matter, and eggshells.
Check back soon for more on vermicomposting, including building your own inexpensive vermicomposter and maintaining the system.

No comments:
Post a Comment